At first glance, restoring a single central incisor looks simple. In practice, these cases test your precision more than a full-arch or multi-unit plan, because every nuance — cervical scallop, emergence, value, translucency — has to blend seamlessly with the natural tooth right next to it. There's nowhere to hide. The patient's own contralateral is sitting there as the reference, and the eye compares the two instantly. Can you hide a mismatch next to a natural twin? You can't — not in value, not in translucency, not in the shape of the gingival scallop.
The Contralateral Sets the Rules
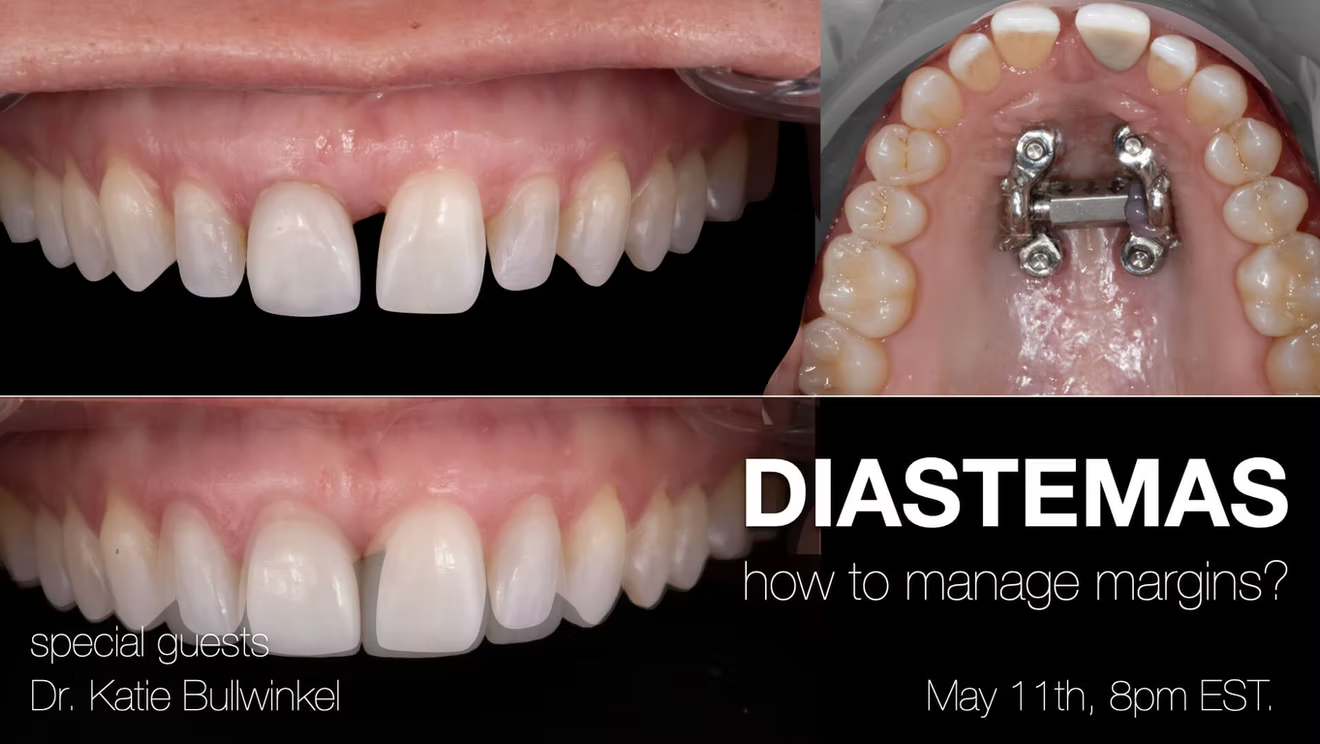
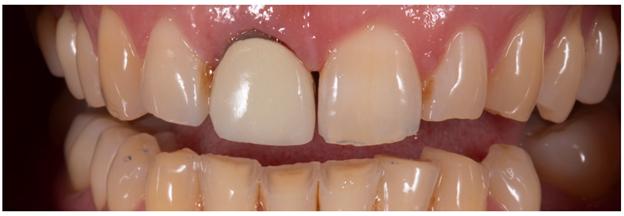
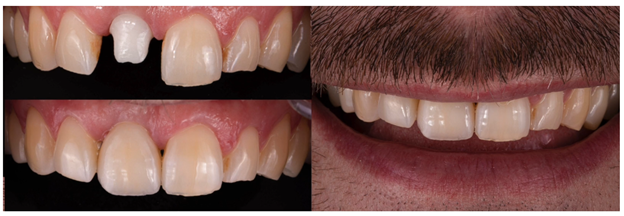
In this case, the patient presented with a PFM crown on #8 and wanted nothing more than to "fix the one tooth." That made #9 the template for everything. Before I started, decisions about the diastema and the final margin position defined the wax-up and guided the surgeon's plan. The facial plate was thin, so we used a socket-shield technique to preserve the facial root fragment — keeping the volume and gingival architecture that a natural emergence depends on.
Provisional First, Everything Else Second
Here's the thing about single-tooth work: the final will always reflect the provisional. So I made the immediate provisional, shortened it slightly, and kept it out of occlusion. Looking back, the cervical neck should have been a touch wider — and that one detail matters, because whatever I capture in the prototype is what shows up in the final. When you're restoring a single tooth, the provisional has to be exact before any records are taken. It's the blueprint, not a placeholder.
Give the Lab What They Need to Match One Tooth
Matching a single central takes disciplined records — this is where the case is won or lost. Straight-on images with balanced lighting give the baseline, while low-exposure, chin-down photos reveal the incisal translucency that usually gets washed out. Additional 45-degree and profile views let the technician read surface anatomy and halo. For shade, I arrange the VITA guide by value and hold multiple tabs on the same plane as the tooth, then capture a series with and without a polarized lens so the lab sees both internal color and surface reflection. A system like eLab can take this further by generating a formulaic build-up recipe.
Capturing the Emergence Profile
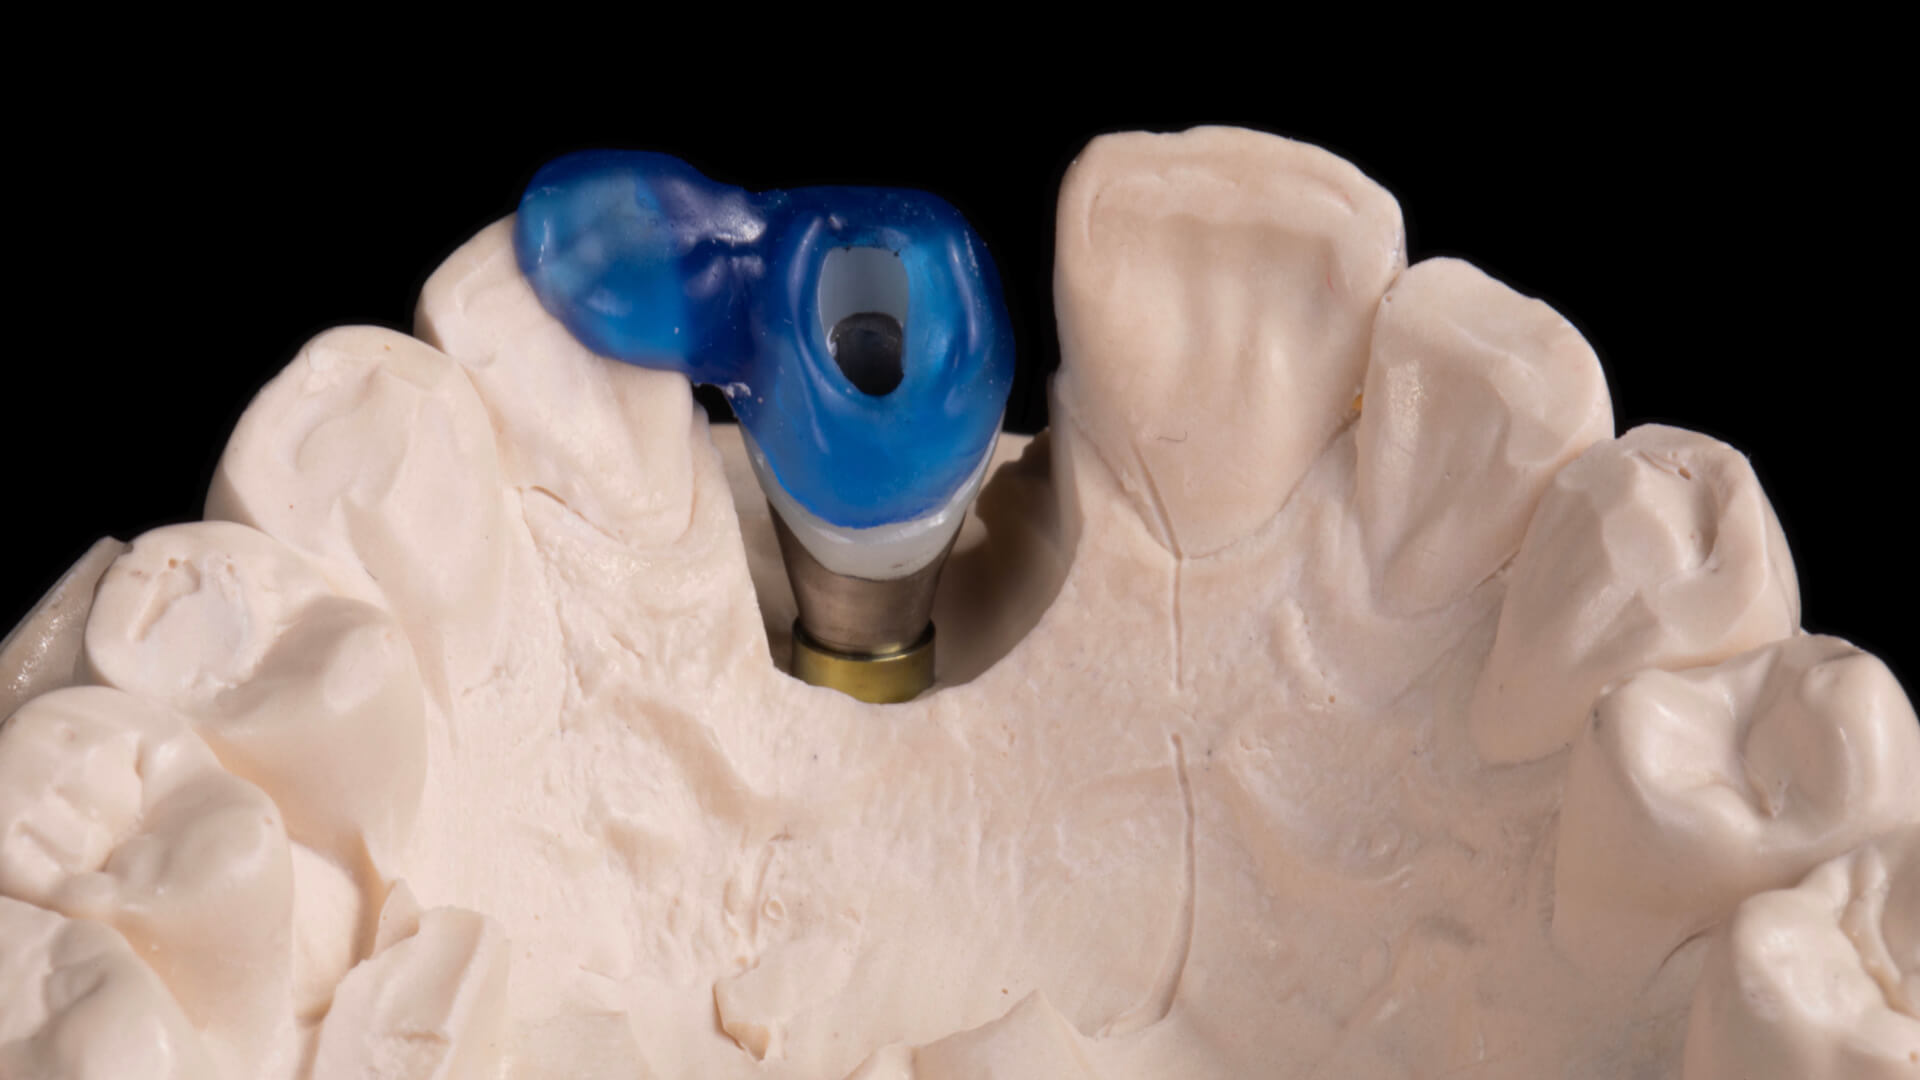
Whether I'm working analog or digital, the goal doesn't change: deliver the exact subgingival contour my provisional already validated. Analog indexing in a small impression cup or digital scans of the provisional — in and out of the mouth — both let the lab design the abutment and crown with real precision. And in a single-tooth case, I tint the abutment toward a dentin-like shade to keep it from shifting the value of the final.
The final restoration blended beautifully and the patient was thrilled. The only thing I'd change is refining the provisional's cervical width before sending records — a small reminder that in single-tooth dentistry, the provisional sets the blueprint for everything that follows.
Three Key Takeaways from This Case
- Start with the finish line: Define the margins, scallop, and incisal position early, because those decisions shape everything downstream.
- Perfect the provisional: The final will mirror whatever you capture, so make the prototype exact before any records leave the office.
- Overcommunicate shade and contour: Multi-angle photos, value-based shade tabs, polarized images, and accurate emergence records give the lab what they need to match one tooth.