This case is proof that the plan you start with is not always the plan you finish with.
George came to me with a major anterior defect: bone loss, tissue loss, a history of a failed bone graft, an existing bridge on #4 through #6, and teeth that had been through more than most. He'd spent years avoiding the dentist after everything that had happened up front. He was ready. And he wanted his teeth back.
The plan was an implant-supported bridge from #8 to #10, with pink porcelain to manage the tissue defect. Michael Roberts and Aaron Johnson at CMR built the first restoration. It looked beautiful. We delivered it. George came back a month later for post-op photos.
I noticed heavy staining. I went to scale it. The implant on #7 was loose. Not a little loose. Pull-it-out-with-your-fingers loose.
His surgeon happened to be in the office that day. George, who had sworn he would never go back to a surgeon after everything he'd been through, looked at me and said, can he just take it out? Right now? He did. And our plan changed again.
Three Designs
The second bridge spanned #7 through #11. Michael built it. It looked right. At delivery, it wouldn't seat all the way. The tissue was blanching in the #7 area even after I electrosurged and cleared everything I could find. I called him. I said, it looks beautiful, but something's off and I don't know what.
That's when he suggested we redesign the pink differently. And here's what he proposed: shorten the clinical crown length of the centrals and laterals, and extend the pink further cervically so it creates a uniform gingival line across the whole bridge. Not two separate pieces of pink meeting in the middle. One continuous band of tissue color that integrates with what's there.
That change did three things at once. It resolved the seating issue by freeing us from the defect emergence profile on #8. It allowed us to shift the midline, because we weren't locked into where that implant had been anymore. And it created papilla between the lateral and canine that hadn't existed in the previous design. If you look at the second bridge versus the third, the difference is immediately visible. One looks like a restoration sitting in a defect. The other looks like it grew there.
Pink Shade Is Not an Afterthought
I want to talk about pink composite for a minute, because this case showed me something I hadn't thought about carefully enough before.
I use Renamel Gingafill from Cosmedent, which comes in light, medium, and dark. Medium works about 80% of the time. On George's first provisional, my medium was dried out. I used light. On the second provisional, medium still hadn't been reordered. I used dark. When I put the photos side by side, the difference was striking. Not just in color, but in how much tissue appeared to show. The darker the pink, the more visible the tissue zone. The lighter it is, the more it recedes. The teeth look proportionally different in each photo even though the white design is identical.
We choose white shades with precision. We photograph, we cross-polarize, we send shade tabs and provisionals to the lab. Pink deserves the same attention. Spending time with your ceramist on pink shade selection isn't optional on cases like this. It's part of the design.
What the Lab Does That You Can't See
Michael and Aaron walked the group through the zirconia fabrication process on this case, and I want to capture the parts that matter most clinically.
Zirconia mills out 30% larger than its sintered size. Before it goes into the oven, it's in what they call the blue block phase, where it's soft, carvable, and responsive to hand instruments. This is where the anatomy happens. Line angles, gingival contour, and surface texture are all refined by hand before the material shrinks down. Digital design gets the architecture right. Hand finishing brings it to life.
The internal staining goes in at this stage too, absorbed into the porous zirconia before sintering. Pink tints, incisal gradients, and opacity adjustments are all locked inside the material so they read as depth rather than surface color. The zirconia then sinters at 1600 degrees Celsius over an 8-hour cycle. By the time it comes out, what looked faint going in reads clearly through the final restoration.
The pink layering on top uses both liquid ceramics and powdered porcelain. Powdered porcelain gives more depth and a completely different texture than liquid alone. It's the difference between something that looks applied and something that looks like tissue.
The Delivery Pearl
Never use retraction cord when cementing a pink porcelain restoration. Cement sticks to cord. When you pull it, it breaks. You cannot retrieve a broken piece of cord from beneath a pink porcelain margin without damaging the surface. Use Teflon instead. Cut long sections, wrap them around the neck of the tooth, and pack them into the sulcus. Cement does not bond to Teflon. You can pull it cleanly in the gel state and everything that needs to be removed comes with it.
George came back two weeks after the final delivery. The tissue had adapted beautifully. On delivery day there had been what looked like a gap at the margin, but that was just the tissue recovering from cauterization and seating. It had filled in completely. He looked genuinely happy. Not politely happy. Happy in the way a person looks when something they'd been carrying for years is finally resolved.
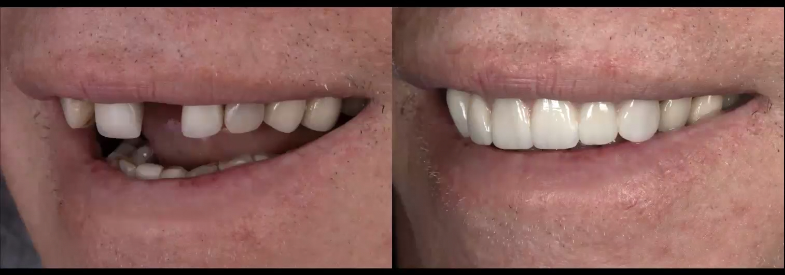
Sometimes failures are happy ones. This case taught me more than any smooth delivery ever could.
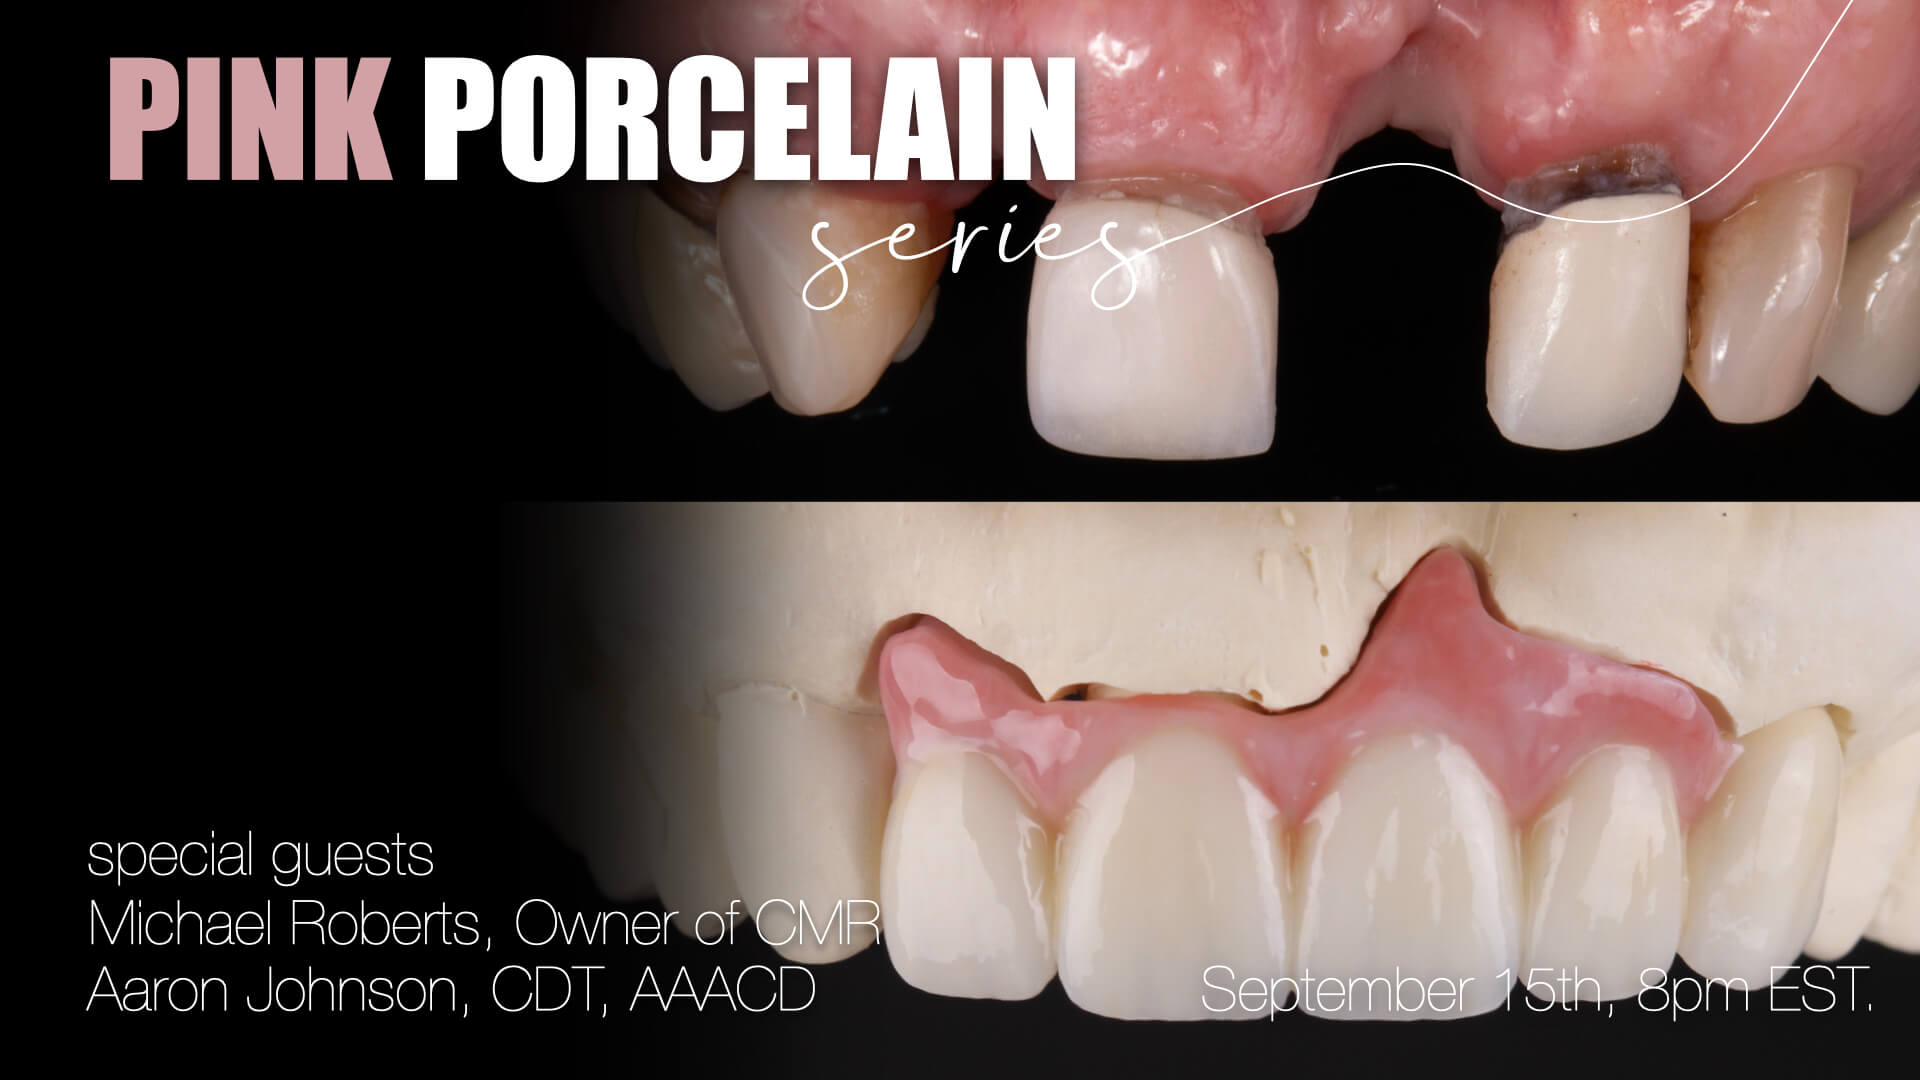
What We Covered in This Discussion
-
How a mid-case implant failure after delivery changed a #8–10 bridge to a #7–11 bridge, and why having a ceramist who can adapt the design is essential when the plan changes in the chair
-
The third-design solution: shortening clinical crown length while extending the pink to create a uniform gingival band, which freed the design from the defect emergence profile, allowed a midline shift, and created papilla between the lateral and canine
-
Pink composite shade selection for provisionals: how light, medium, and dark shades visually change how much tissue appears to show, altering tooth proportions even when the white design is identical
-
How to add pink composite to a bisacryl provisional without over-bulking: scribing the cervical line, removing one to two millimeters of facial surface in the pink zone, then layering composite to follow the existing anatomy
-
Zirconia fabrication: why it mills 30% oversized, how hand-finishing in the blue block phase refines anatomy before sintering, and how internal staining absorbed into the porous pre-sintered material creates depth rather than surface color
-
Why powdered porcelain over liquid ceramics produces greater depth and a fundamentally different surface texture for pink layering
-
Cementation under pink porcelain: why cement sticking to retraction cord makes it contraindicated, and how Teflon, wrapped around the tooth neck and packed into the sulcus, allows clean gel-state cleanup
-
Ridge lap vs. sitting on the ridge: why pink porcelain starts at tooth structure rather than overlapping soft tissue, and how that design allows self-cleansing access while creating the illusion of natural tissue emergence
-
When to modify an existing implant crown for provisional use vs. making a new custom abutment: if tissue development is not a goal and the emergence profile does not need to change, modifying and shrink-wrapping saves time and patient cost