
Elevating Dental Photography
From equipment to lab communication
 Dr. Amanda Seay
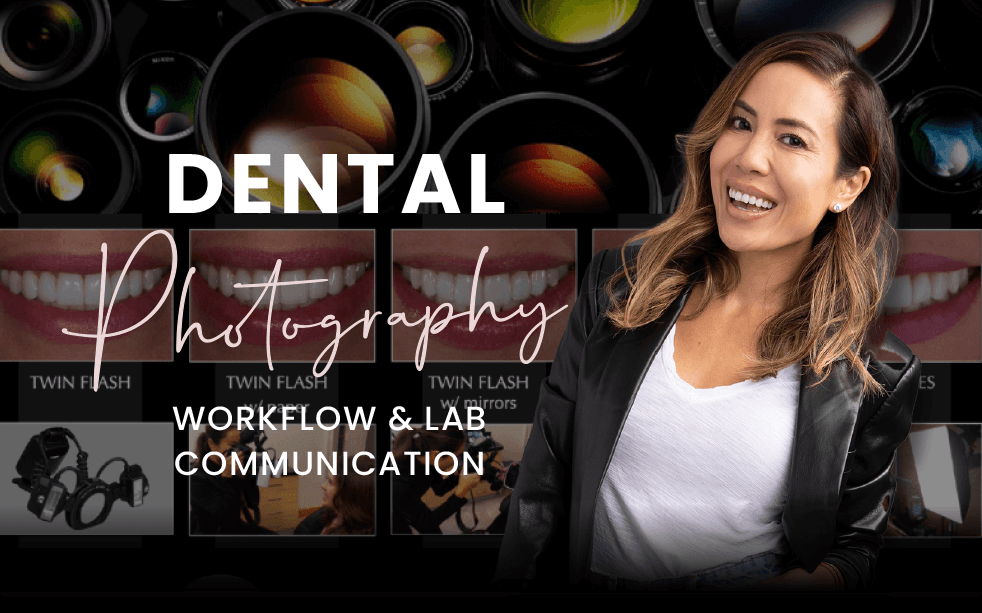
Learn the essentials of dental photography, from choosing the right equipment and mastering camera basics to integrating a seamless workflow and communicating effectively with labs. Discover how exceptional images can elevate your practice and transform your professional path.
You’ll Walk Away With
- How to select and optimize essential equipment, from cameras and lenses to accessories
- Camera and flash settings to consistently capture high-quality clinical images
- A detailed breakdown of how to streamline workflow, delegate tasks and improve patient/operator comfort
- Key lab communication strategies using photography for shade matching and smile design
- How to use color spaces digitally and in print to present and share your images at their best
Who This Course Is For
Dentists at every stage with the camera, from choosing a first body and lens to refining settings, workflow, and lab communication. If you own the equipment but can't get consistent results, or want your team trained to capture the images for you, this course covers both.
$1,427
One-Time Purchase
- 6 Modules · 3.5 Hours
- 3.5 CE Credits
- Yours to Keep
- Watch Anytime

Curriculum
Photography Why
Preview
Explore the role photography plays in esthetic dentistry — in your clinical growth, your marketing, and patient education. Integrate photography into your daily practice for lasting improvements.
- Set the entry point: full face, full smile, front retracted, and upper/lower occlusal — the defined system your team takes for every new patient
- Document baseline photos that settle "your word against theirs" before it starts
- Distinguish clinical vs. artistic photography, and the smile celebration that turns final photos into trust and referrals
Photography Equipment
Preview
Learn the essential equipment for high-quality dental photos. Optimize your workspace with the right camera body, lens, and flash, plus the accessories worth adding.
- Compare full-frame vs. crop-sensor DSLRs: what actually changes, and why the archer matters more than the arrow
- Choose between ring flash, twin flash, and strobes with softboxes — which to use for diagnostics and which for artistry
- Learn why the 100mm flat-field macro is the gold standard, and when an 85mm portrait lens earns its place in a tight operatory
Photography Settings
Preview
Master the exposure triangle and the camera settings behind sharp, well-composed images. Learn flash settings to consistently achieve well-lit subjects in various clinical scenarios.
- Dial in ISO, aperture, and shutter speed, plus the dental "always" settings that stop manual mode from being guesswork
- Find the one Kelvin setting that makes fifty shades of white read true
- Balance power and distance, starting at 1/8 power, and adding power for diffusion or indirect light
Photography Implementation
Preview
Effective photography goes beyond equipment. Establish a seamless workflow, delegate tasks, define and frame photos for operator and patient comfort, and ensure your practice consistently captures exceptional images.
- Standardize horizontal framing, neutral head position, commissure to commissure, so every team member's shots match yours
- Teach the system so photography doesn't depend on the doctor
- Ask permission and explain each step, so photos never feel invasive
Lab Communication
Preview
Productive lab communication is a cornerstone of esthetic dentistry. Learn about shade selection, essential photos for smile design, and conveying unique patient characteristics to your lab.
- Capture records, prep day, and provisional approval with the same series each time
- Read incisal edge position (the canine zero position), lip dynamics, and tissue, including the Duchenne and "shhh" positions that capture the lip's true extremity
- Deliver the views that let a technician across the country see your patient without ever meeting them
Understanding Color Spaces
Preview
Demystify color spaces and their impact on image distribution. Use specific color spaces strategically, knowing their advantages and disadvantages. Present your photos at their best.
- Know what each gamut holds and where each belongs
- Edit in the largest space, then save into the space the output needs
- Shoot RAW to keep every option open — color-space settings only apply to JPEG
Want the entire course collection?
Best ValueAll 5 On-Demand Courses · Yours to Keep
Stay current
New tips, case discussions, and course news as they release — straight from Amanda.
Unsubscribe anytime.